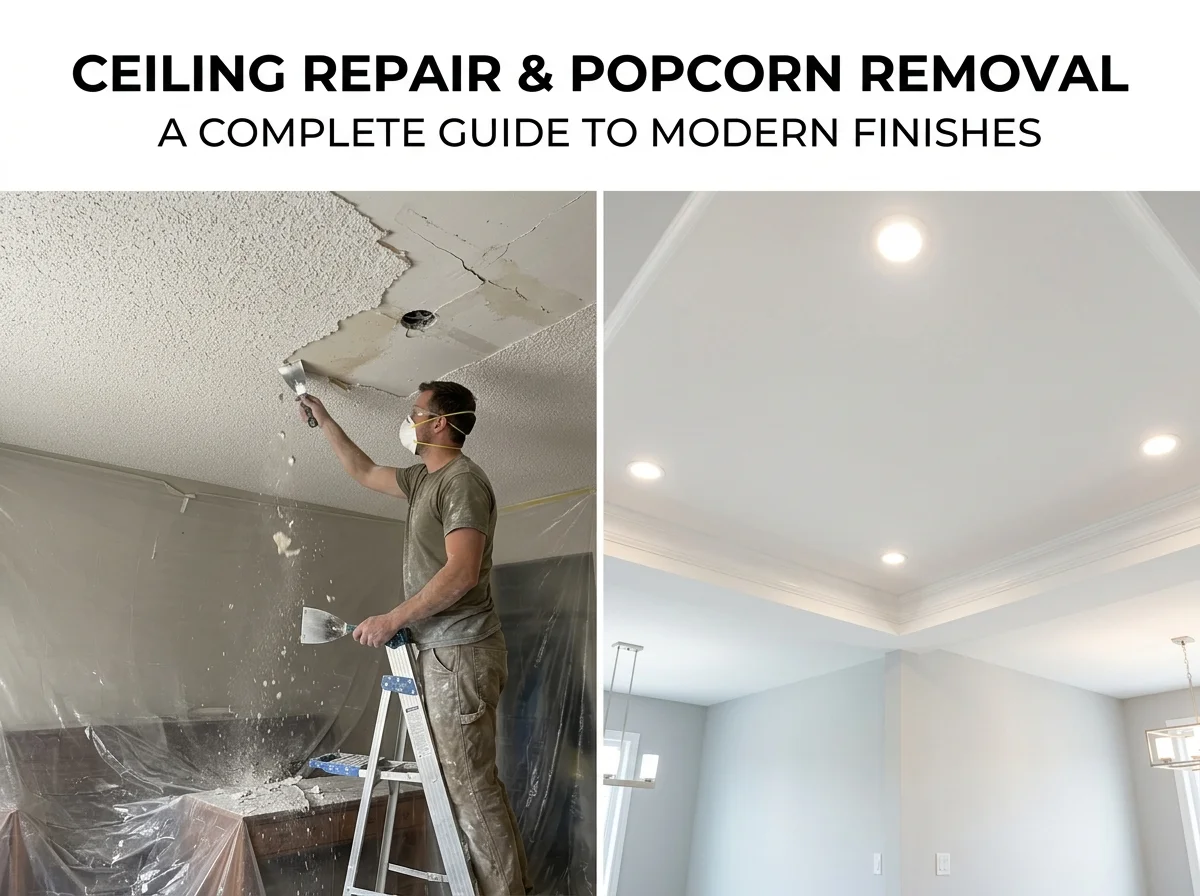
Your ceiling looks dated. It’s textured. Popcorn maybe. You look at modern homes with smooth, clean ceilings. You want that. But you’re worried about cost. You’re worried about the process. You’re worried about asbestos.
Ceiling repair popcorn removal is one of the most transformative updates you can make. A new ceiling completely changes how a room looks. Popcorn ceilings scream “1980s.” Smooth ceilings look modern and clean. Your whole house feels updated when ceilings get refreshed.
This guide covers everything about ceiling renovation. How to remove popcorn ceiling safely. Asbestos ceiling testing explained. Ceiling drywall repair for damaged areas. Textured ceiling removal methods. Getting a smooth ceiling finish. Real costs. Safety concerns. Step-by-step process. By the end, you’ll understand what’s involved. You’ll know your options. You’ll be ready to update your ceilings.
Why Ceiling Repair Popcorn Removal Matters Now
Popcorn ceilings were popular decades ago. They hide imperfections. They provide insulation. They absorb sound. But they look terrible now. They collect dust. They’re hard to clean. Modern homeowners hate them.
Ceiling updates rarely happen in isolation. Most homeowners tackle ceilings as part of larger room renovations. Understanding the full scope helps you plan better. See our interior remodeling planning guide for how ceiling work fits into kitchen, bathroom, or whole-home projects.
A smooth ceiling finish looks expensive. It looks contemporary. It makes spaces feel bigger. Light reflects better off smooth surfaces. Popcorn ceilings absorb light. They make rooms feel smaller and darker. That’s a real difference in how spaces feel.
Ceiling renovation also adds home value. Buyers notice ceilings. Popcorn ceilings turn them away. Smooth ceilings impress them. If you’re selling within 5 years, ceiling updates make financial sense. You’ll recover costs. You might add significant value.
Dust and allergens accumulate in popcorn. Popcorn ceilings trap dust. They collect spider webs. They’re impossible to clean properly. Removing them improves air quality. Especially important for people with allergies. Smooth ceilings are easy to clean.
Understanding Asbestos Ceiling Testing: Safety First
Asbestos ceiling testing is critical before starting work. Popcorn ceilings installed before 1980 might contain asbestos. Asbestos is dangerous when disturbed. It causes serious health problems. You must know what you’re dealing with.

Do I Need Testing?
If your popcorn ceiling was installed before 1980, testing is essential. If it was installed after 1990, asbestos is unlikely. If you don’t know when it was installed, test it. Testing costs $300-$500. Remediation if asbestos is found costs $10,000-$30,000+. Worth knowing before you start.
How Testing Works
A professional takes a sample. They send it to a lab. The lab analyzes it. Results come back in 1-2 weeks. If no asbestos, you can proceed safely. If asbestos is present, you need licensed professionals to handle removal. Never DIY asbestos removal. It’s illegal. It’s dangerous.
Asbestos Removal
Licensed asbestos contractors handle removal. They seal the area. They use special equipment. They remove the popcorn carefully. They dispose of it properly. The process takes several days. It’s expensive. But it’s safe. It’s required by law.
Safe Removal Without Asbestos
If testing shows no asbestos, you can proceed with standard ceiling repair popcorn removal methods. This is much simpler. Much cheaper. Much faster.
Once popcorn is removed and testing is complete, damaged drywall often needs professional repair. Our ceiling drywall repair services handle everything from small patches to complete ceiling replacement
How to Remove Popcorn Ceiling: Methods and Process
Textured ceiling removal involves specific techniques. Understanding the process helps you know what to expect.
Wet Method (Most Common)
This is the easiest way to remove popcorn ceiling. Spray water on the popcorn. It softens. You scrape it off. Simple. Effective.
First, cover everything in the room. Plastic sheeting protects furniture. Tape edges. Put down drop cloths. This is dusty work. Protection is necessary.
Spray water on small sections. Use a spray bottle or garden sprayer. Let it soak 15 minutes. The popcorn absorbs water. It softens. Then scrape it with a putty knife. The popcorn comes off easily. Work in sections. Spray. Soak. Scrape. Move to next section.
The drywall underneath gets wet. It’s okay. Drywall is water-resistant. Let it dry completely. This takes 24-48 hours. Use fans and dehumidifiers to speed drying.
Dry Method (Faster but Messier)
Scrape dry popcorn without water. Very dusty. Requires respirators. Dust gets everywhere. Not recommended unless water can’t be used. Might damage old drywall. Generally avoided.
Professional Removal
Hire professionals to remove popcorn ceiling. They have better equipment. They work faster. They handle disposal. They clean up after. Costs $500-$2,000 depending on room size. Worth paying for.
Ceiling Drywall Repair: Fixing Damage
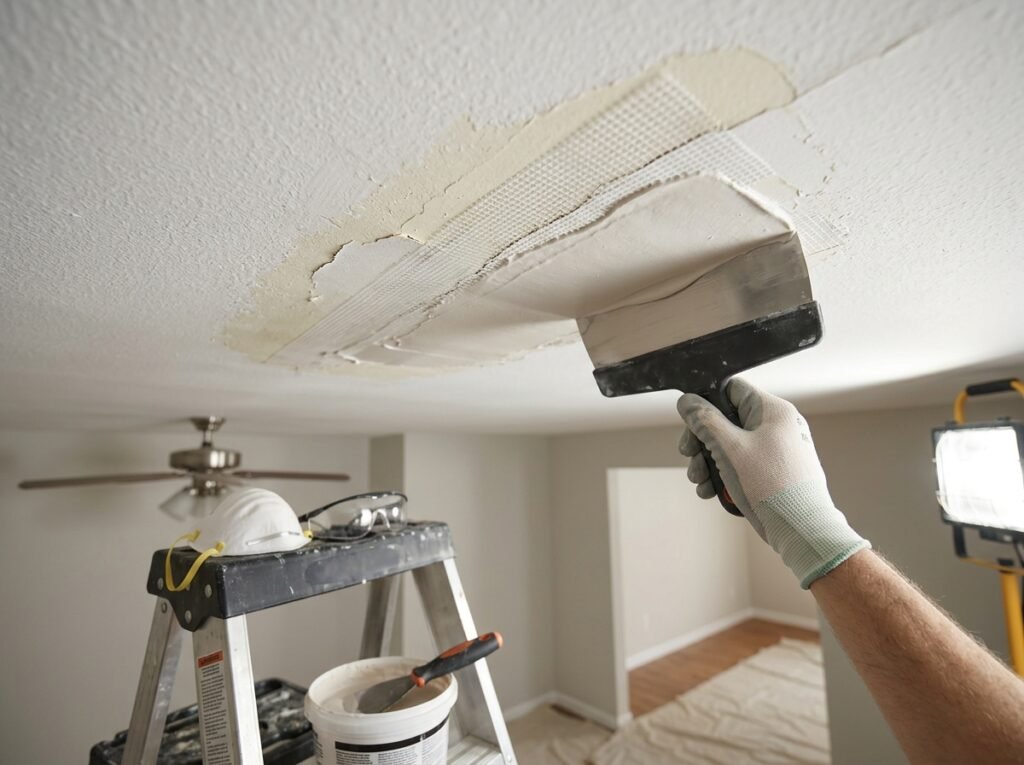
Once popcorn is removed, ceiling damage becomes visible. Ceiling drywall repair might be needed.
Assessing Damage
Water stains. Soft spots. Cracks. Holes. These need repair. Sometimes drywall is fine. Sometimes it needs work. Assessment happens after popcorn removal.
Patching Small Holes
Small holes (less than 6 inches) patch easily. Use drywall patch kits. Fill with joint compound. Sand smooth. Prime and paint. Takes a few hours. Costs $50-$100.
Repairing Large Damage
Large holes or soft spots need drywall replacement. Cut out damaged section. Install new drywall piece. Tape and compound the seams. Sand smooth. Prime and paint. Costs $200-$500 depending on extent.
Water Damage
Water stains indicate past leaks. Must be fixed. If still leaking, fix the leak first. Then repair ceiling. Water-damaged drywall might need replacement. Depends on severity.
Dealing with Sagging
Old plaster or sagging drywall needs replacement. Might require removing entire ceiling. Installing new drywall. This is extensive work. Costs $1,500-$5,000+ depending on room size.
Smooth Ceiling Finish: Your New Look
Once drywall is repaired, you apply a smooth ceiling finish.
Ceilings and floors work together visually. Coordinating finishes creates cohesive room design. When planning your ceiling update, consider how it pairs with your flooring choice. Our flooring installation guide helps you select materials that complement your new ceiling.
Flat Paint Finish
Simplest option. Paint the repaired drywall. Flat paint hides imperfections better than glossy. Use quality primer. Use quality flat paint. Two coats typically. Costs $200-$400 labor plus paint. Looks clean and modern.
Skim Coat Finish
Professional finish. Ultra-smooth. Contractors apply thin layer of joint compound. Sand it smooth. Prime and paint. Takes skill. Looks amazing. Costs $500-$1,500 labor plus paint. Best-looking option.
Knockdown Texture
Lighter texture than popcorn. Modern look. Applied with spray. Then lightly flattened with trowel. Creates subtle pattern. Less trendy than flat but more forgiving of imperfections. Costs $300-$800 labor.
Smooth Drywall (Zero Texture)
Completely smooth. Cleanest look. Requires perfect drywall repair. Requires skilled finishing. Shows every imperfection. Takes expertise. Most forgiving is skim coat.
Textured Ceiling Removal Process: Step by Step
Here’s what the complete ceiling repair popcorn removal process looks like.
Step 1: Preparation (1-2 days)
Test for asbestos. If present, hire professionals. If not, proceed. Cover furniture. Tape edges. Protect flooring. Set up fans and dehumidifiers. Clear the room of non-essentials.
Step 2: Water Application (1-3 days)
Spray water on popcorn. Let soak. This softens the texture. Allows easier removal. Requires patience. Don’t rush this step.
Step 3: Scraping (2-5 days)
Scrape off wet popcorn. Use putty knives. Use drywall scrapers. Work in sections. Scrape thoroughly. Remove all popcorn. This is tedious. Takes time. Can’t rush it.
Step 4: Drying (1-2 days)
Let ceiling dry completely. Use fans and dehumidifiers. Don’t rush to next step. Wet drywall is fragile. Wait until completely dry.
Step 5: Assessment and Repair (1-3 days)
Inspect for damage. Small holes patch. Large damage gets drywall replacement. Water damage gets addressed. Repairs are made.
Step 6: Finishing (2-5 days)
Apply skim coat or other finish. Sand smooth. Prime. Paint. Professional finish takes several days. DIY might take longer.
Total Timeline
Professional job: 2-4 weeks. DIY job: 4-8 weeks depending on your pace. Some of this is drying time. You can’t speed drying.
Costs of Ceiling Renovation
Real prices vary based on method and room size.
DIY Removal Only
Materials: $100-$300. Spray bottles. Scrapers. Drop cloths. Primer and paint.
Labor: Your time (free).
Total: $100-$300 for small room. $300-$600 for large area.
Professional Removal
Labor: $500-$2,000 depending on room size.
Paint and finish: $300-$1,000.
Total: $800-$3,000 for professional removal and finishing.
Drywall Repair (if needed)
Small patches: $50-$200.
Large damage: $500-$2,000.
Water damage: $1,000-$5,000+.
Complete Ceiling Renovation (everything)
Small room: $1,500-$3,500.
Large room: $3,000-$8,000.
Whole house: $8,000-$25,000+.
Professional removal saves time and guarantees results. We handle everything from asbestos testing to final smooth finish. Explore our professional popcorn ceiling removal services to see what’s included and get a free estimate.
DIY vs Professional: Which Works Better?
Ceiling repair popcorn removal can be DIY. But there’s a question of quality.
DIY Advantages
Save money on labor. $500-$2,000 saved. Complete control. Your schedule. You see the process.
DIY Disadvantages
Time-consuming. Requires patience. Hard physical work. Dust is messy. Finishing might look rough if not experienced. Mistakes are expensive to fix.
Professional Advantages
Faster completion. Better-looking results. Professional-grade equipment. They handle mess. They dispose of waste. Warranty on work.
Professional Disadvantages
Costs more. $1,500-$5,000 additional. Less control over schedule. Depends on contractor availability.
Best Approach
DIY removal if you’re patient. Professional finishing if you want quality. Hybrid approach: you remove popcorn. Professionals repair and finish.
Safety Concerns During Textured Ceiling Removal
Safety matters during this project.
Asbestos Risk
Test first. Never assume it’s safe. Asbestos exposure causes mesothelioma. Lung cancer. Serious diseases. Don’t risk it.
Dust and Particles
Wear respirator (N95 minimum). Protect lungs. Use fans to move dust out. Open windows. Create air flow.
Ladder Safety
Work at height. Use sturdy ladder. Have someone spot you. Take breaks. Neck strain happens working overhead. Fatigue affects balance. Be careful.
Water and Electricity
Water and electricity don’t mix. Turn off power to overhead lights. Unplug fans and equipment. Don’t spray water near outlets.
Ventilation
Adequate ventilation is essential. Use fans. Open windows. Create air movement. Removes dust and moisture.
FAQ About Ceiling Repair Popcorn Removal
Is popcorn ceiling asbestos?
Not always. Popcorn installed before 1980 might contain asbestos. Post-1990 popcorn likely doesn’t. If unsure, test it. Testing costs $300-$500. Worth knowing before removal.
Can I paint over popcorn ceiling instead of removing it?
Technically yes. But not recommended. Dust still accumulates. It still looks dated. Paint doesn’t stick well to popcorn. Moisture problems persist. Remove popcorn ceiling instead. Better long-term solution.
How long does textured ceiling removal take?
DIY: 2-4 weeks depending on room size and your pace. Professional: 1-2 weeks. Most time is drying. You can’t rush drying.
What’s the best smooth ceiling finish?
Skim coat looks best. Most professional. Takes skill to apply. Costs $500-$1,500 labor. Flat paint finish is easier. Costs less. Looks clean. Choose based on budget and perfectionism.
How much does ceiling drywall repair cost?
Small patches: $50-$200. Large damage: $500-$2,000. Water damage: $1,000-$5,000+. Assessment determines actual cost. Get quotes before work.
Can I DIY the whole ceiling renovation?
Yes if you’re patient and willing to learn. Removal is DIY-able. Drywall repair takes skill. Finishing takes practice. Many people DIY removal. Professional finish. Good compromise.